Publishing your app on the App Store and Google Play
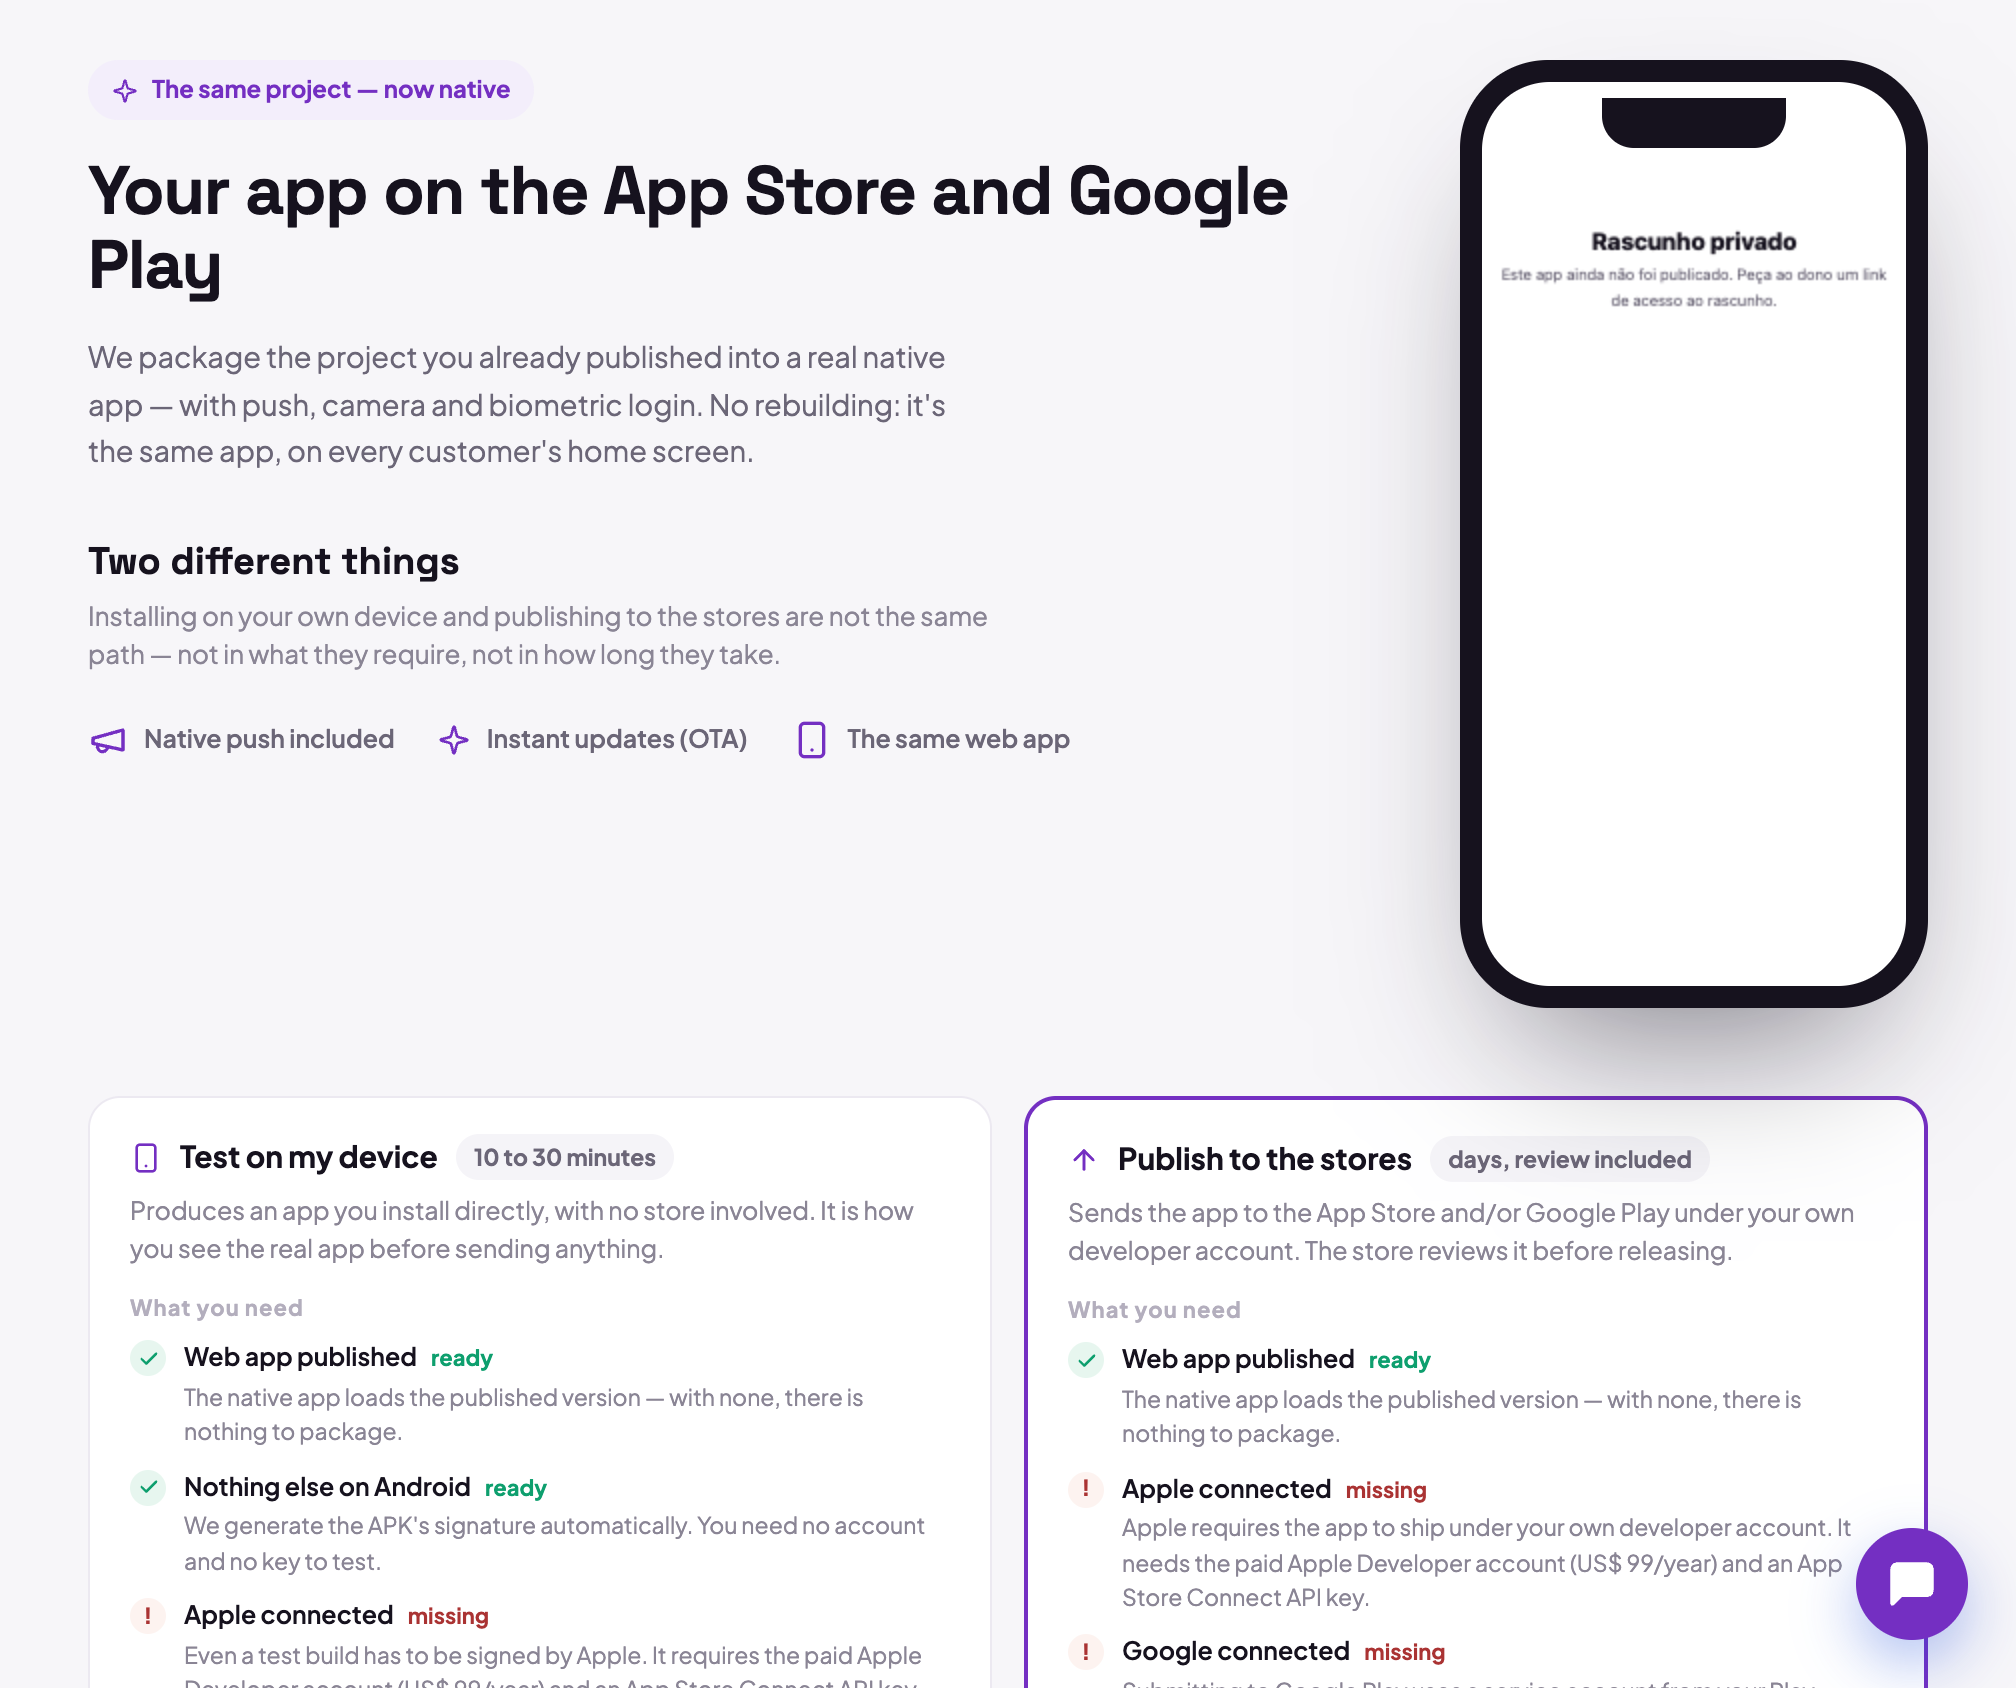
The app you already published on the web becomes a real native app, with push and camera, and goes to the stores under your own developer account. Setting it up takes about 10 minutes; the first publication takes 1 to 2 days, because of the stores' review.
What is yours and what is ours
The app ships under your developer account, never under ours. That is not paperwork: the store listing, the ratings, the downloads and the money from purchases are yours, and stay yours if you ever leave the platform.
What we do: we wrap your published app in a native shell, generate the icon and the splash screen, build it in the cloud (no Mac needed) and submit it with the credential you connected. What is yours: the developer account, creating the app in the store's console, and answering the review.
The native app runs the published version of your project. If you have not published on the web yet, the tab asks for that first, because there is nothing to wrap.
Before you start
- the project published on the web (the Publish button);
- the Builder plan or above;
- a developer account on the store you want to ship to: Google Play (one-time US$ 25) and/or the Apple Developer Program (US$ 99 a year), paid directly to the store;
- an hour of patience with the store's console the first time.
You can do Android now and iOS later. The two platforms move independently from beginning to end.
Where it is
The Mobile app tab, in the editor's icon column. It is the last one, with the phone icon.
The five setup steps
The wizard saves as you go, so you can leave halfway and come back.
| Step | What you decide |
|---|---|
| Stores | where the app ships: App Store, Google Play or both |
| Brand | icon, splash screen and the app identifier |
| Features | camera, photos, location, biometrics, push and share |
| Accounts | the Apple and Google credentials (the guide Connecting your Apple and Google accounts covers every field) |
| Review | check everything and publish |
Brand
The icon has to be a square 1024×1024 PNG. Without one, we generate an icon from the app's initial over your brand colour. Apple rejects icons with a transparent background: send it filled, with no rounded corners, because the system rounds them itself.
The splash screen works best as a PNG with the logo centred and a transparent background, since the colour you pick fills the rest of the screen. A full-screen photo gets cropped differently on every device.
The app identifier
It is the app's unique address in the stores, in the form com.yourcompany.yourapp. We suggest one from the
project's name, and you can replace it with your domain reversed.
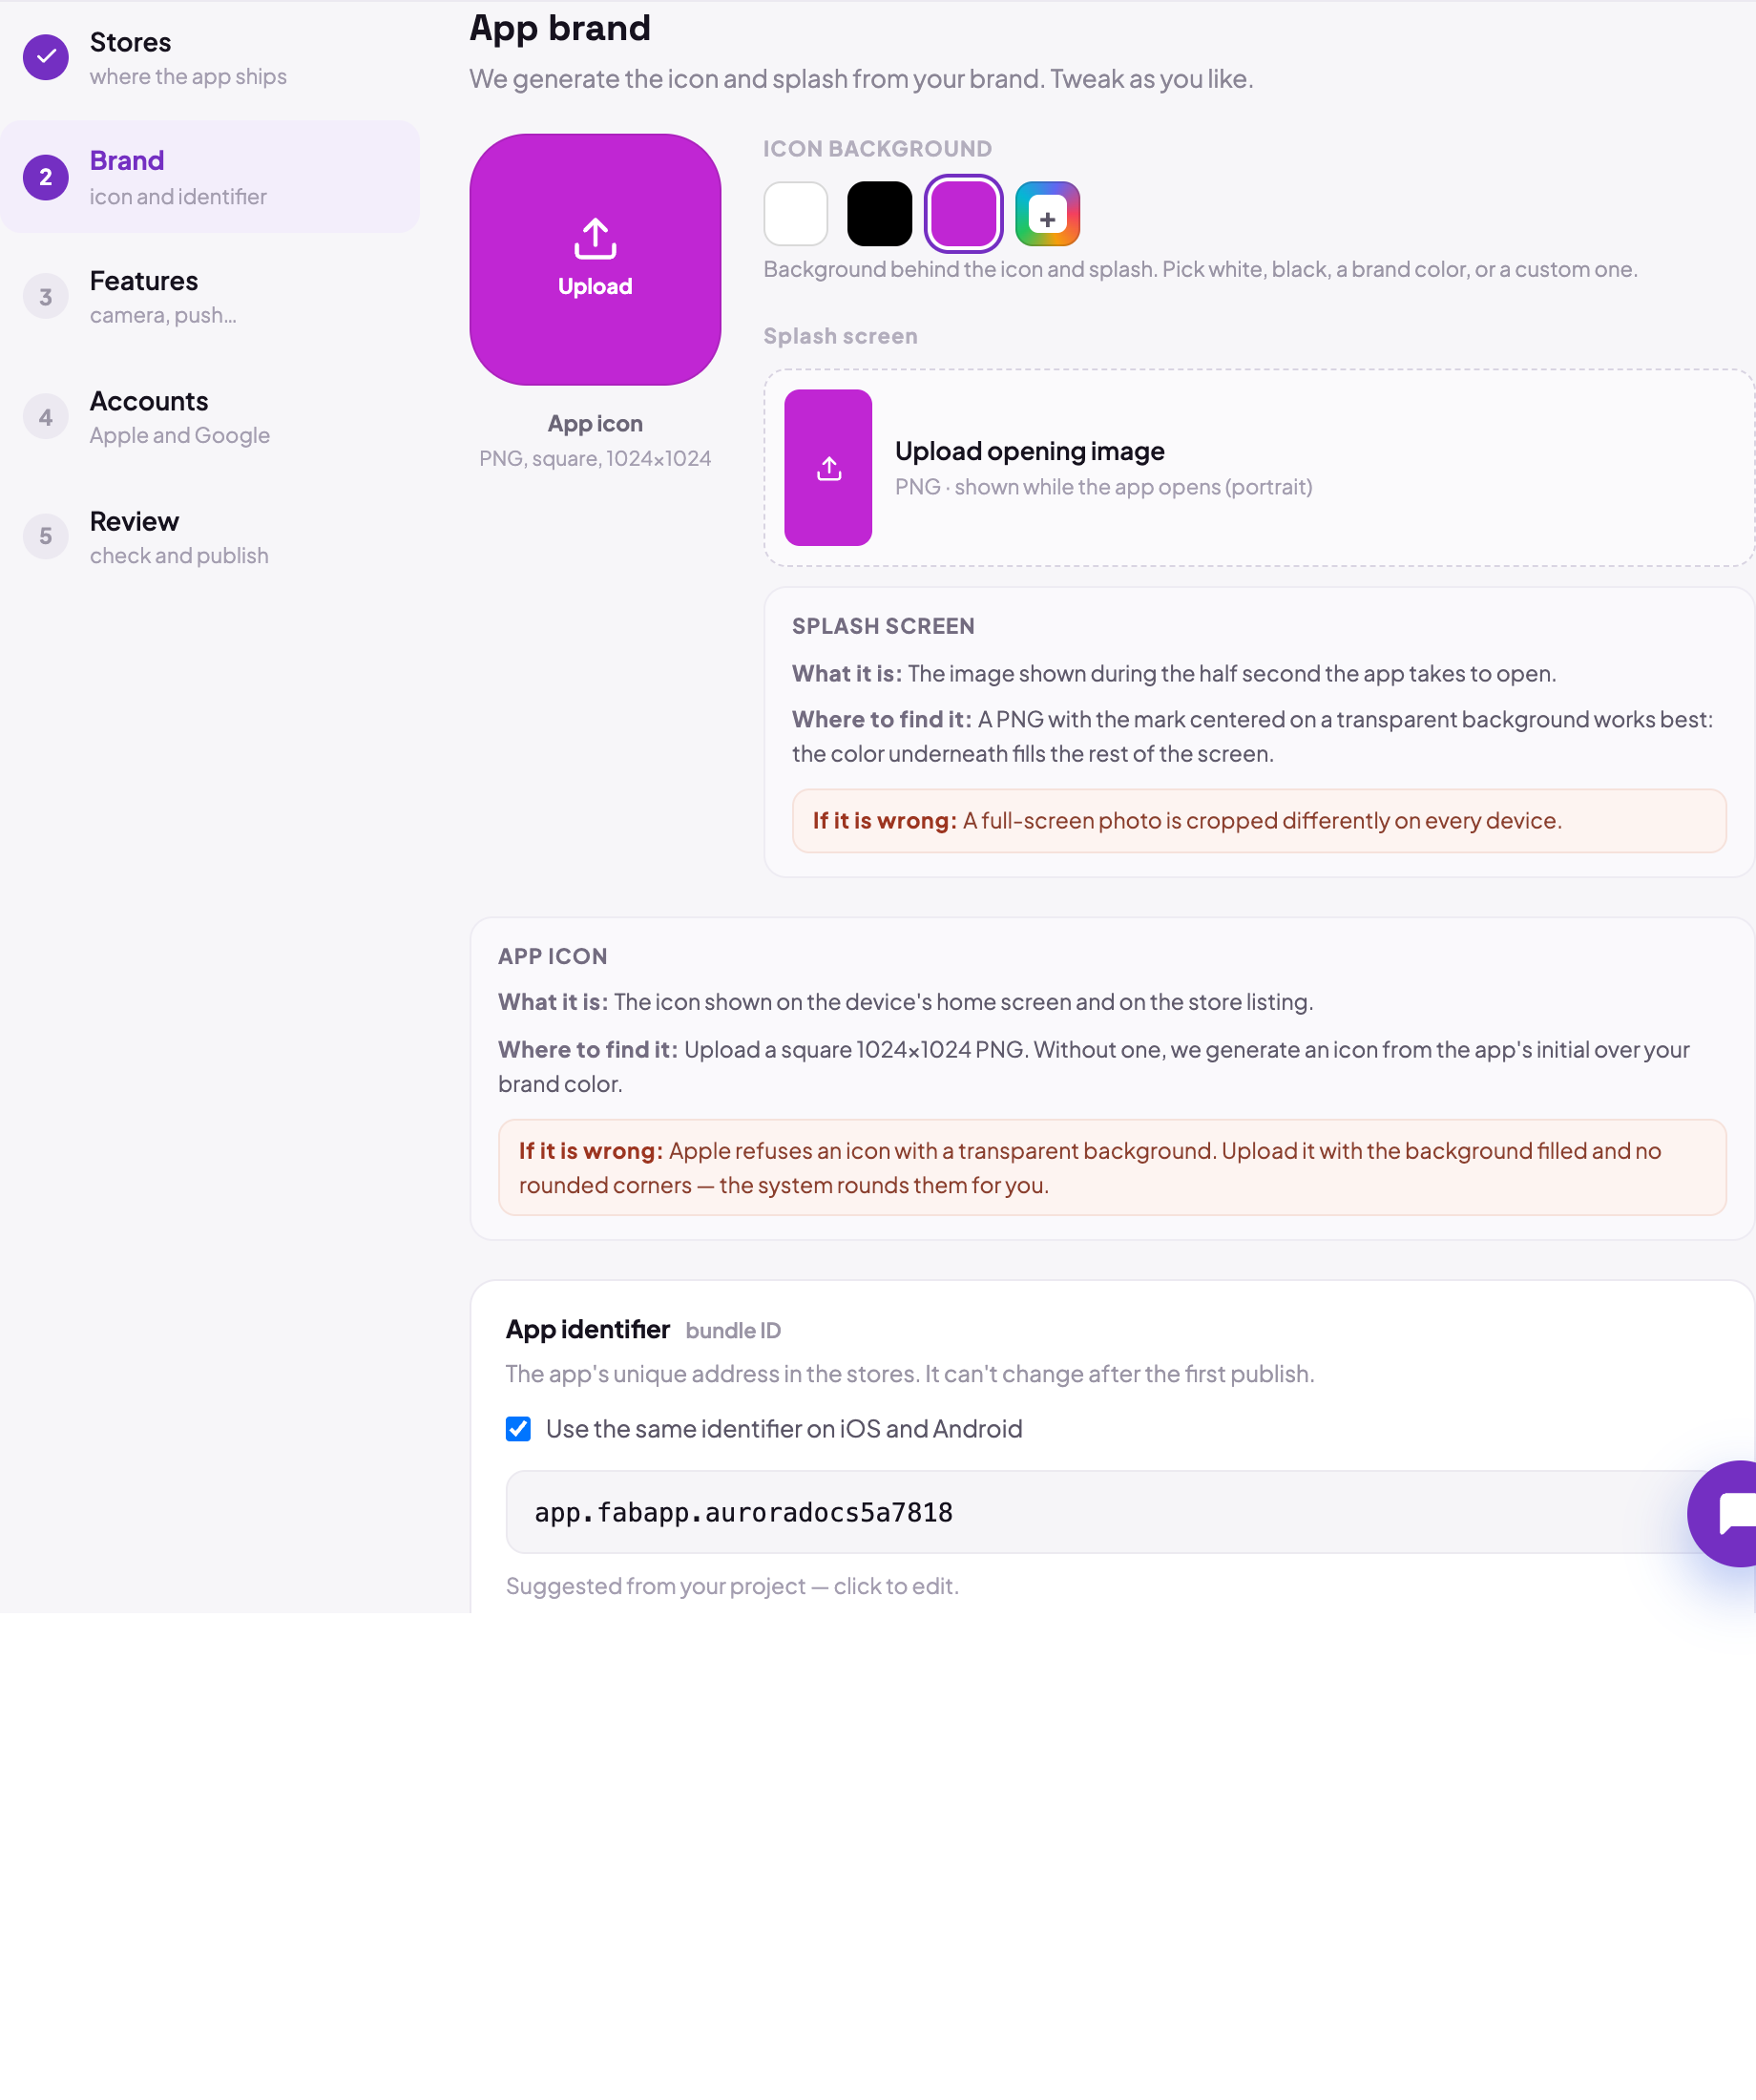
It does not change after the first publication. Changing it later does not rename the app: it creates a new app in the store, and your user base, ratings and downloads stay with the old one. Check it before you publish.
On Google Play there is one more trap: the app has to exist in the console with exactly that identifier before
the submission. Google's API does not create the app, so if the package is not there the submission fails with
Package not found. The screen shows the identifier with a copy button precisely so you can paste it into the Play
Console without missing a character.
Features
Turn on what the app really uses. The stores expect a native app to use native features for real: an app that is only the website inside a shell tends to be rejected, more often by Apple.
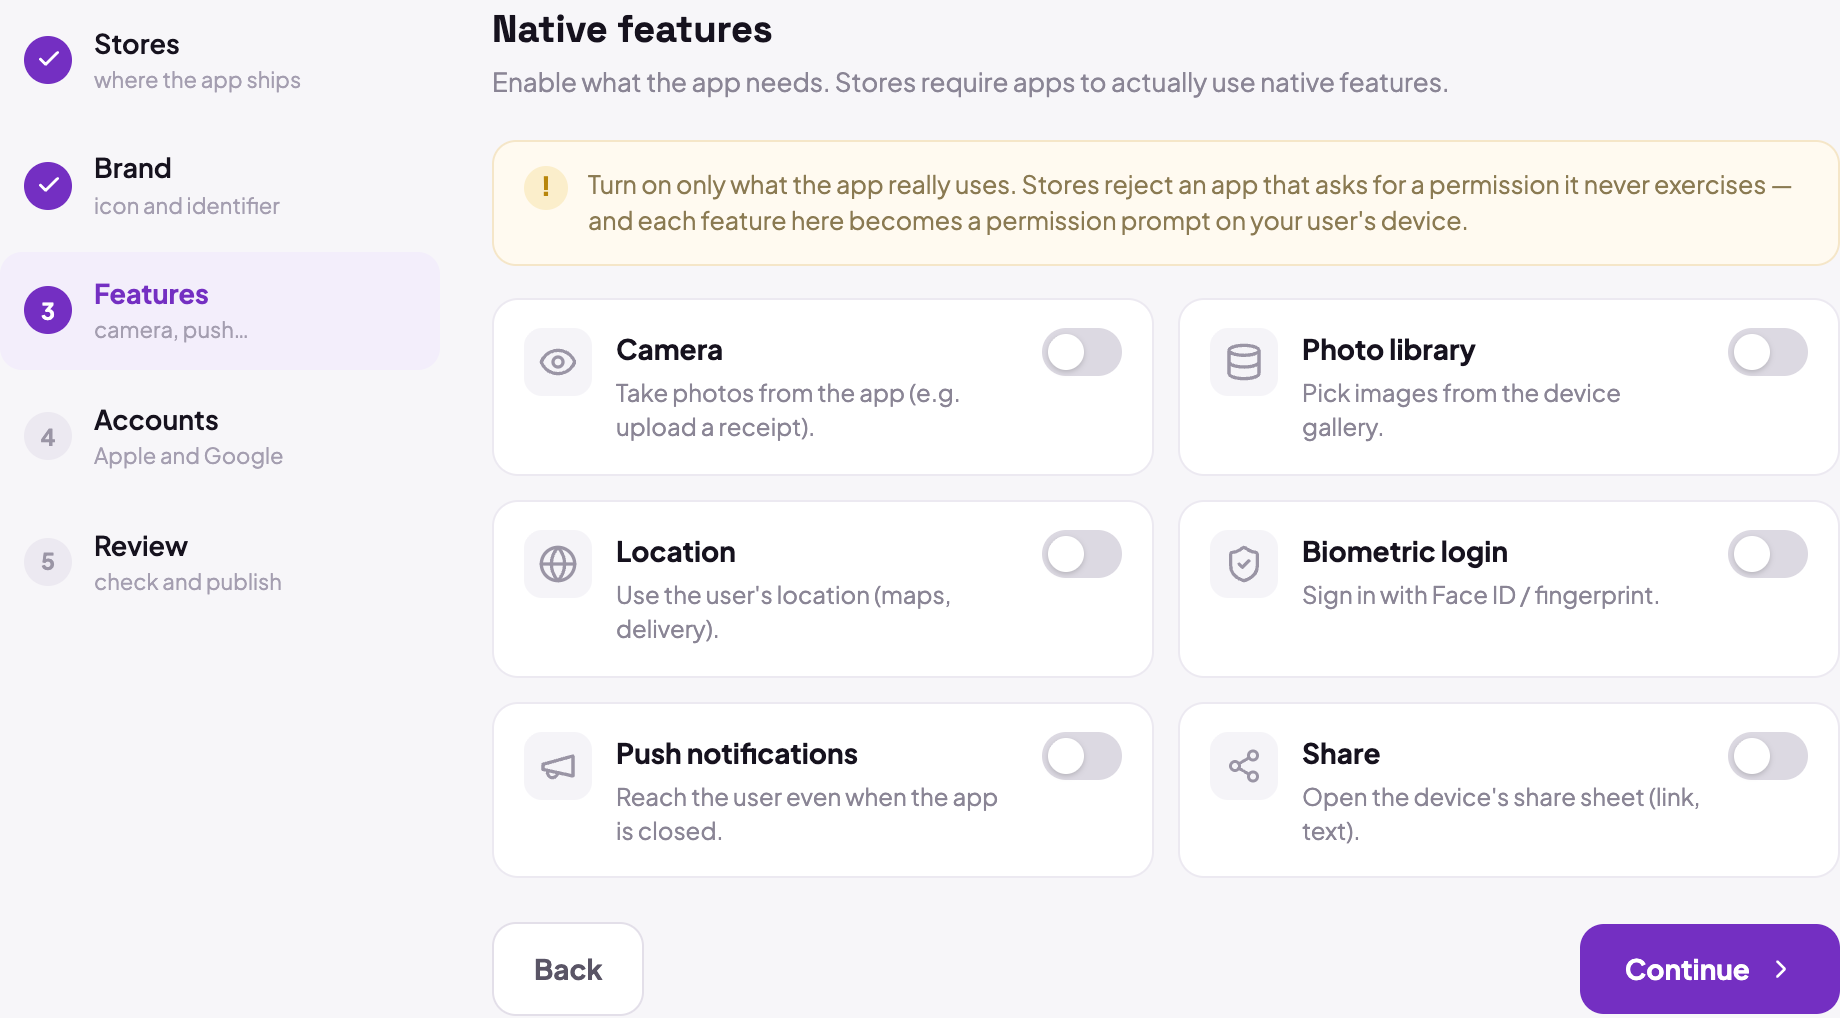
Turning push on here is what makes the app ask for notification permission. On Android, actually delivering the notification also needs the two Firebase files, in the Accounts step.
Test build: install it before you submit
Before sending anything to a store, use the Test build. It produces an app you install straight on a device, without going through the store, and takes 10 to 30 minutes.
The two sides behave differently when the build finishes:
- Android: you get an APK and the Install button hands you the file. It installs on the device right away;
- iOS: the package is uploaded to App Store Connect and shows up in TestFlight once Apple has processed it. There is no file to download and install on the iPhone directly.
Either way: an app you have never opened on a device should not go to review.
Publishing
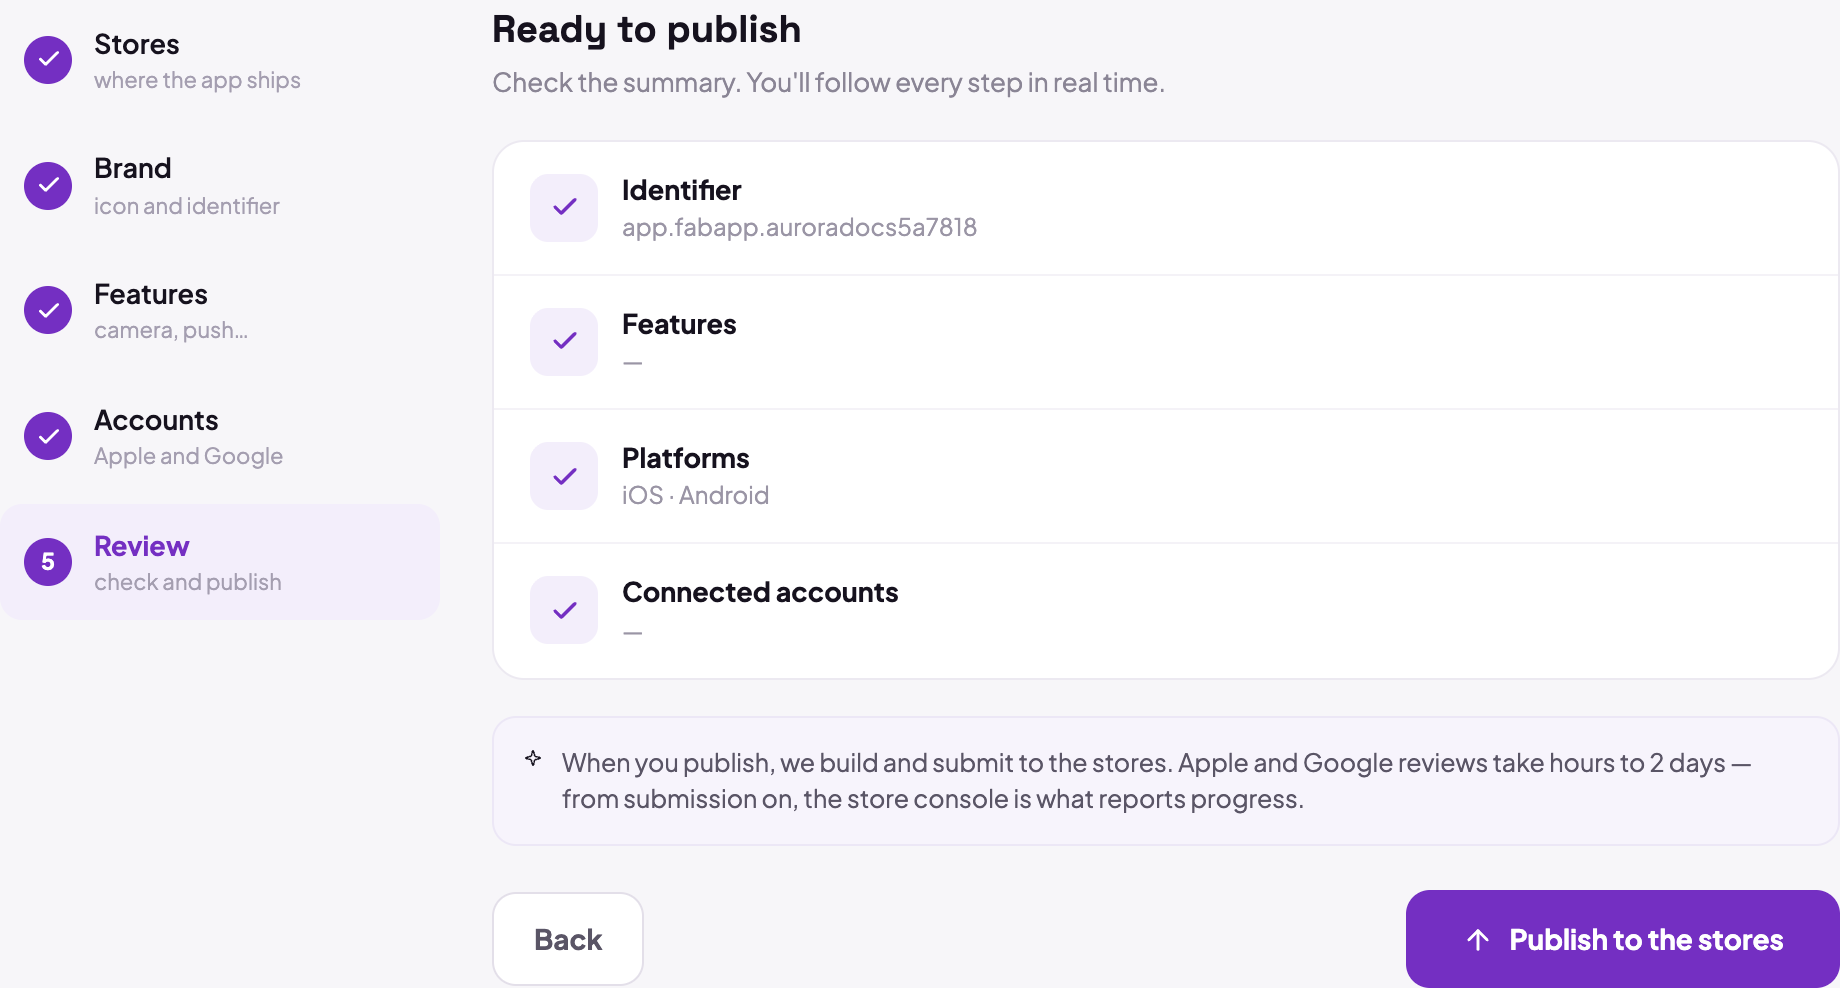
In the Review step the button is Publish to the stores. From there the screen shows three states, per platform:
| State | What it means |
|---|---|
| Building | generating the native app in the cloud. 10 to 30 minutes |
| Sending to the store | the package is ready and is being uploaded. The store has not answered yet |
| Submitted to the store | the store accepted the package. The review starts now |
The difference between the last two is the one that confuses people, and it is real: a package can be built and still be refused at submission (wrong identifier, missing permission). That is why "Submitted to the store" only appears when the store confirms receipt, not when the build finishes.
After that, the store's console is what tells you. The review happens inside Apple and Google, and we have no way to follow it. It takes from a few hours to 2 days, longer for an app's first version.
A new personal Google Play account: the 12 testers
If your Google Play account is personal and was created after 13 November 2023, Google requires, before opening production, a closed test with at least 12 testers opted in continuously for 14 days. It is per app, not per account.
This is not a Fabapp requirement and there is no way around it from here: the submission works, the app becomes available on the testing track, and production only opens after you apply for access and Google approves it (up to 7 days). Organization accounts and personal accounts created before that date are exempt.
Plan for it from the start if your account is new: those are 14 calendar days that cannot be sped up.
The store deadlines that are ours, not yours
The stores require apps to be built with recent tooling, and those deadlines are our responsibility: we keep the native shell up to date and you do not have to do anything.
So that you know they exist: Google Play requires new apps and updates to target Android 16 (API 36) from 31 August 2026, and Apple requires uploads to App Store Connect to be built with the iOS 26 SDK or later from 28 April 2026.
When something fails
| Symptom | Almost always |
|---|---|
Package not found on the Android submission |
the app does not exist in the Play Console with that identifier, or the identifier differs |
| the Android submission is refused for permissions | the service account exists but was never given permission to publish in the Play Console |
| the Android submission is refused over signing or a certificate | the store listing already took a package signed with a different key. In Test and release → Setup → App signing: if Play App Signing is on, request an upload key reset (Google takes 1 to 2 business days) and publish again |
| the Android submission is refused over a version number already used | it happens when the app existed in the store before it came here. That number is controlled on our side: open a ticket and we raise it above the highest one already submitted |
| the iOS build fails at the end, mentioning a certificate | the App Store Connect key does not have the Admin role |
| the iOS app does not show up in TestFlight | Apple is still processing the package. Usually a few minutes |
| push works on the iPhone and not on Android | the Firebase files are missing in the Accounts step |
Every build's full log is in the tab itself, under See the full log. It is the first thing to look at, and its error message is usually literal.